Free Inquiry Now !
I handle acrylic light diffuser sheets pretty much every week. Last month, this client emails me photos of his LED signage project—looked great from a distance, but up close? The edges were mangled. Like a dog got hold of them. Turns out he grabbed his wood saw and went to town. Sheets cracked, melted in spots, whole thing was toast. I’ve seen this exact screw-up more times than I can count. Cutting these things isn’t rocket science. But do it wrong and you’re buying new material. Whether you’re putting together LED light panels for your shop, knocking out retail displays, or working on some architectural lighting job, clean edges make the difference between looking pro and looking like you did it in your garage. Here’s how we handle it in our shop—no cracks, no burn marks, no do-overs.
What You’re Actually Dealing With
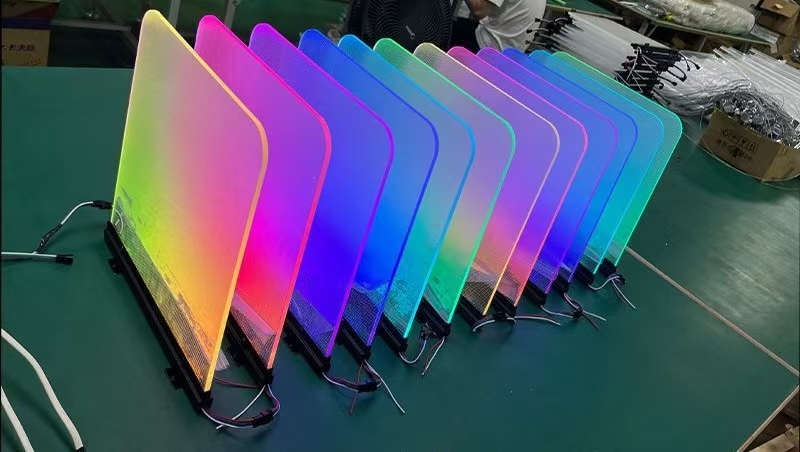
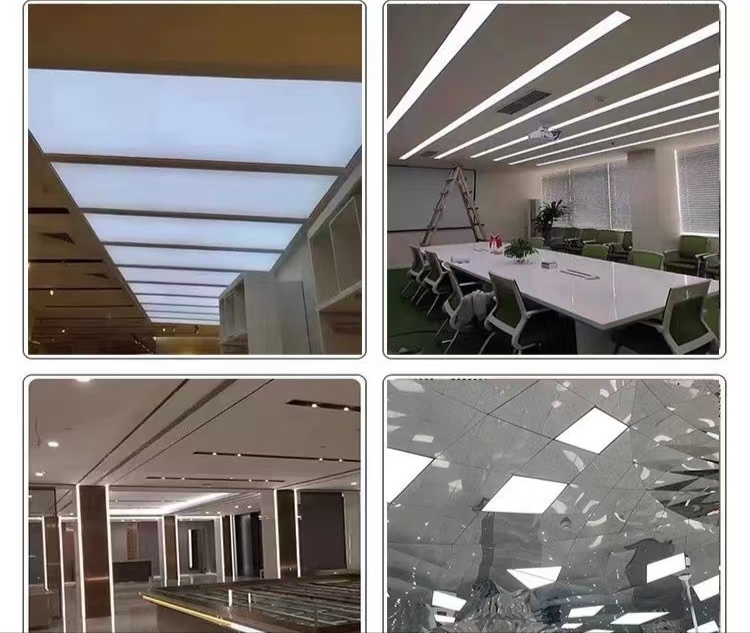
So acrylic light diffuser sheets.Not regular acrylic, not by a long shot. They’ve got this stuff mixed in—little particles that bounce the LED light around so you don’t end up with bright spots and dark patches. Works great for signage, light boxes, whatever you’re building. But here’s the kicker: those same particles make the material act weird when you cut it. Standard acrylic? Pretty forgiving. This stuff? Not so much.
We keep four types in stock:
| Type | Light Transmission | Best Used For | How Finicky It Is |
| Clear diffuser | 85-90% | When you want brightness over softness | Pretty forgiving |
| Frosted | 70-80% | General signage, light boxes | Middle of the road |
| Opal | 60-70% | Fancy architectural stuff, even lighting | Picks up every flaw |
| Prismatic | Depends | Directing light specific ways | Weird to cut |
The thing nobody tells you—those diffusion particles create stress points. Methods that work fine on clear acrylic? They’ll split opal sheets right down the middle. I learned that the expensive way, watching a $400 sheet crack in half because I got lazy with the blade speed.
The Ways This Goes Wrong
1.Cracking right down the line of the acrylic light diffuser sheet
Acrylic’s brittle. Always has been. Cut too aggressive, wrong blade, or just bad luck, and stress concentrates at the edge. With opal acrylic diffuser sheets, cracks show up bright white—absolutely kills the look when the lights are on.
What actually works: Score deep if you’re snapping, or use a fine-tooth blade and take your time. I always leave a hair extra—maybe half a millimeter—and hit it with the router for the final pass. Sounds like extra work, but redoing a cracked piece takes way longer.
2.Edges melting on you
Friction makes heat. Acrylic starts getting soft around 160°C, and a lot of LED diffuser sheets have additives that drop that even lower. Smell burning plastic? You’ve already screwed it up.
What actually works: Sharp blades, period. Lubricate with water if you can. And don’t force it—let the tool do the work. After a while you can hear the difference. Clean cut has this steady hum. Melting sounds like screaming. You’ll know.
3.Light coming out weird at the edges of the acrylic light diffuser sheets
Bad cuts leave micro-fractures. Might look fine in daylight, but flip the switch and suddenly you’ve got bright spots and shadows where the light catches the damage.
What actually works: Finish everything. Flame polish or wet sand up to 1200 grit. Takes forever, looks amazing, clients notice.
Tools That Actually Get the Job Done
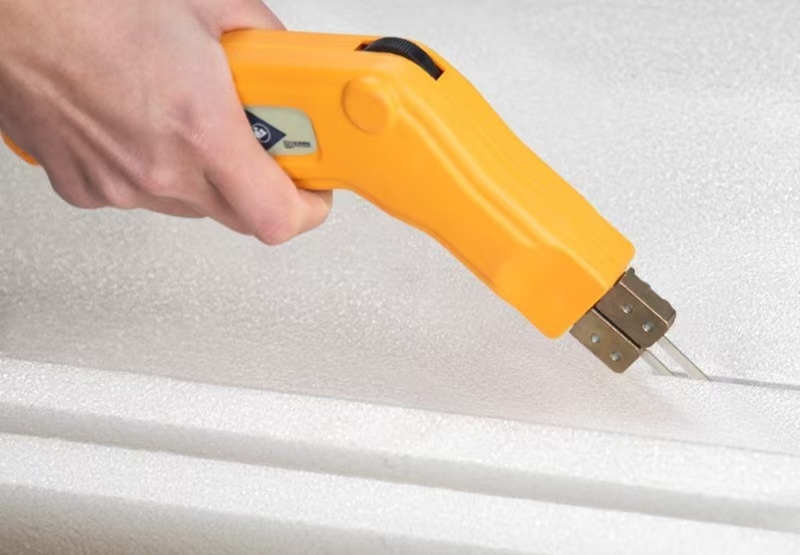
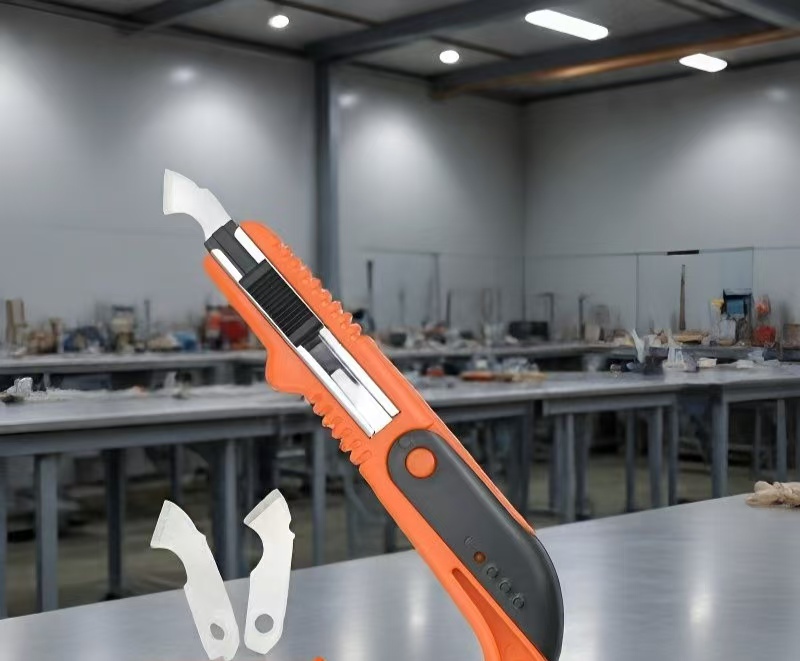
1.By hand (small stuff only)
For thin acrylic diffuser panels—3mm or under—scoring’s fine. Sharp utility knife, fresh blade, same line maybe fifteen times to get a good groove. Clamp it down good, then snap it down fast in one motion.
Thing I figured out: Run masking tape along your cut line first. Keeps the blade from wandering, stops chipping on frosted acrylic diffuser sheets. Costs nothing, saves headaches.
2.Table saw (when you’ve got volume)
For production work, nothing beats a table saw with a zero-clearance insert and an 80-tooth carbide blade. Set the blade height just barely clearing the material. Feed slow—I mean slow. Rush it and you’ll melt the edge or worse, kick the thing back at your face.
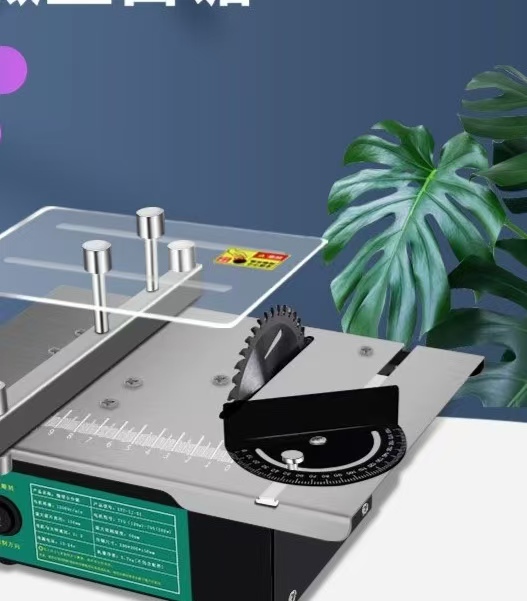
| What | How We Set It |
| Blade | 80-tooth carbide, ATB grind |
| Speed | 3000-4000 RPM |
| How fast you push | Slow. Then slower. |
| Support | Outfeed table isn’t optional |
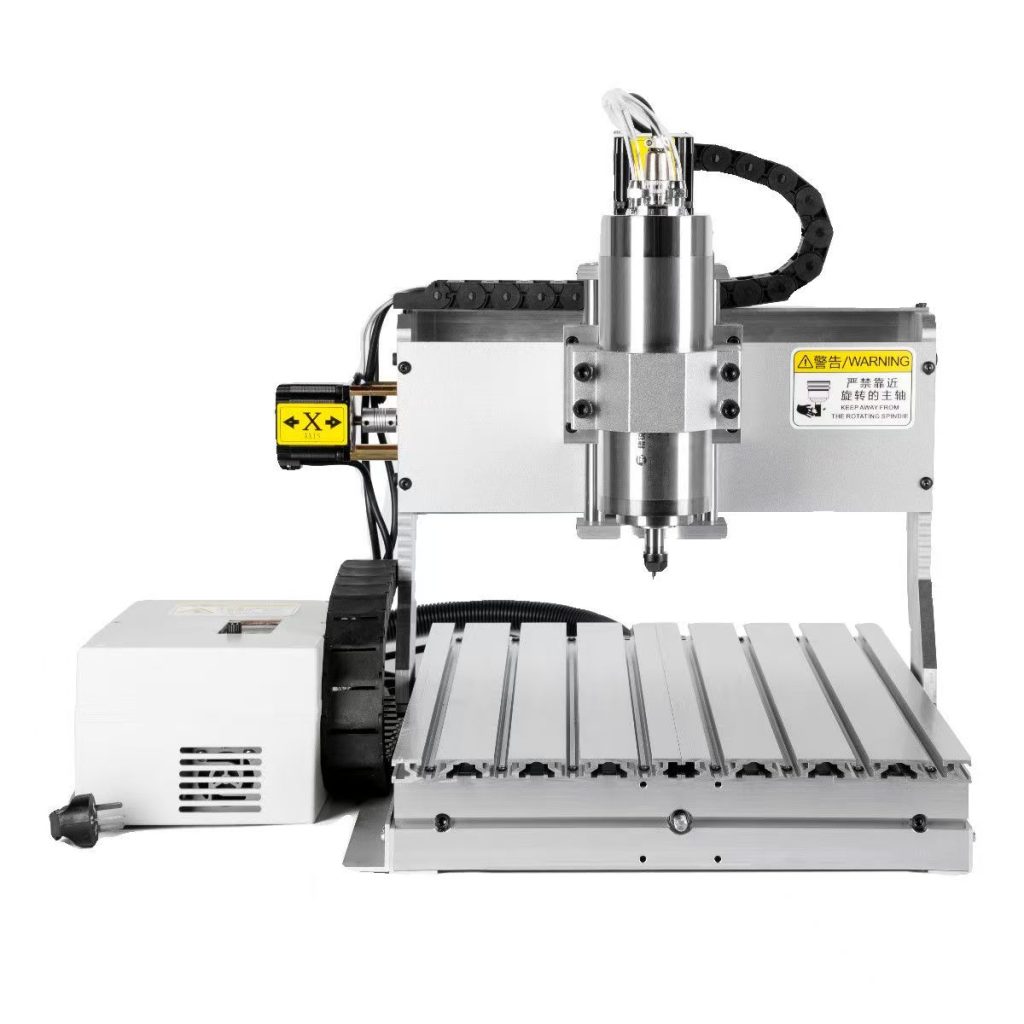
3.CNC router (curves and weird shapes)
Cutting curves in lighting panels? CNC’s the only way that makes sense. Single-flute upcut bits, high RPM, low feed rate. Chips clear out clean, no heat buildup to melt your acrylic light diffuser sheets.
Real talk: Acrylic dust explodes. Not often, but it happens. Dust collection running, no open flames nearby, don’t be the guy who finds out the hard way.
Stuff You Won’t Find in Manuals
Twelve years of messing this up so you don’t have to:
Cold sheets crack. Keep your LED diffuser sheets inside for a day before cutting. Anything under 15°C gets brittle, starts snapping where it should cut clean.
Leave the paper on. That factory masking? Stays on through cutting, through edge finishing, through everything. Scratches on acrylic light diffuser sheets don’t buff out—they’re there forever, and they show up when you light the panel.
Always cut a test piece. Hundred millimeters, something you can throw away. Check for cracks, feel the edge, see how the light comes through. Then do your real sheet. Cheaper to waste a scrap than a full panel.
FAQ
1.Can I laser cut these?
Yeah, mostly. CO2 lasers handle clear and frosted fine. But opal acrylic diffuser sheets? The heat yellows the edge. For high-end lighting where looks matter, I still cut mechanical and polish after. Takes longer, looks right.
2.What thickness should I use?
3mm covers most indoor signage. 5mm if you need it stiff for big architectural pieces. Thicker diffuses nicer but eats more light—figure out your LED spacing first, then pick your sheet.
3.How do I get those glass-clear edges?
Straight cuts: propane torch, quick pass, don’t linger or you’ll get bubbles. Curves: wet sand 400 to 800 to 1200, then hit it with plastic polish. Tedious. Worth it.
4.Why are my edges white and cloudy?
Stress whitening—blade’s getting too hot or pushing too hard. Sharpen or replace your blade, slow your feed, maybe try a different method. On lighting panels, cloudy edges glow bright when lit. Looks terrible.
Conclusion
Cutting acrylic light diffuser sheets comes down to three things: right tool, slow down, finish the edge. The additives that make these sheets great for LED applications also make them picky about how you work them.
Get a decent blade. Don’t rush. Clean up after yourself. And for God’s sake, test on scrap first.
That’s how we handle it—thousands of sheets a year, custom cuts for everything from retail chains to one-off art installations. Same process every time because it works.
If you’ve got a project coming up and want to talk through the specifics, or you need custom-cut LED diffuser sheets with the edges already finished, we handle that. Material samples, cutting specs, whatever you need for your lighting application. Just ask
Please click here.